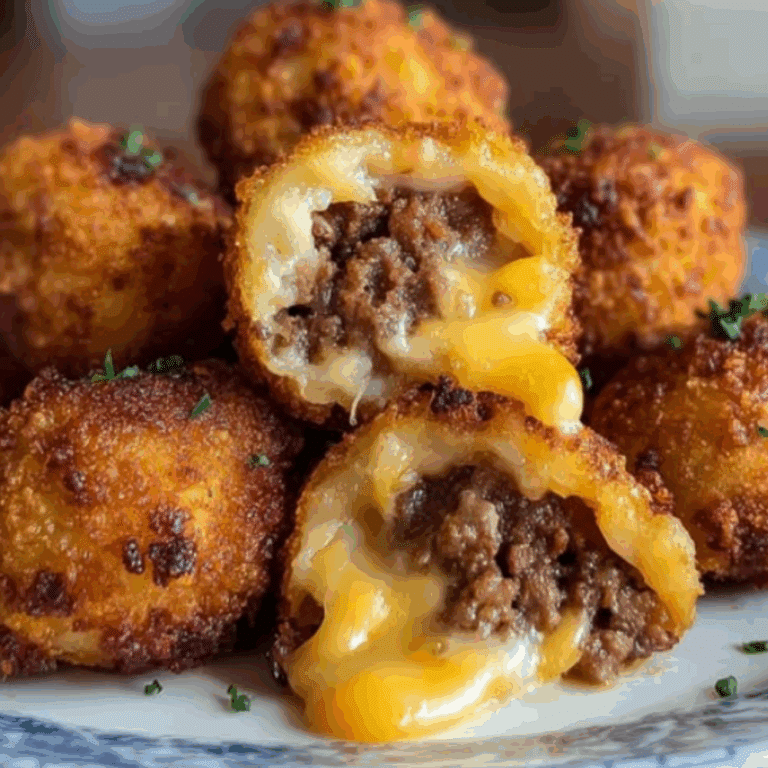
Homemade Chocolate-Covered Ice Cream Bars
Short description
Homemade Chocolate-Covered Ice Cream Bars are a customizable frozen treat perfect for hot days and fun family activities. With a creamy center and a crisp chocolate shell topped with your favorite add-ons, these bars are as fun to make as they are to eat.
Why You’ll Love This Recipe
-
Endlessly customizable: Choose your favorite ice cream, chocolate, and toppings.
-
Fun to make: A hands-on project for both kids and adults.
-
Cool and satisfying: The perfect homemade dessert for summer.
-
Simple ingredients: No baking or fancy tools required.
-
Great for parties: Easy to prepare in batches and serve on a hot day.
Ingredients
(Tip: You can find the complete list of ingredients and their measurements in the recipe card below.)
-
Vanilla ice cream (or your preferred flavor)
-
Melting chocolate (milk, dark, or white)
-
Crushed nuts
-
Crushed cookies
-
Sprinkles
-
Popsicle sticks
Directions
1. Shape the Ice Cream Bars
-
Scoop ice cream into molds or hand-shape into bars using a spoon and parchment paper.
-
Insert a popsicle stick into each bar.
-
Place on a tray lined with parchment and freeze for 2–3 hours until firm.
2. Melt the Chocolate
-
Place chocolate in a microwave-safe bowl.
-
Microwave in 30-second intervals, stirring between each, until fully melted and smooth.
-
Let cool slightly so it doesn’t melt the ice cream.
3. Dip the Bars
-
Remove ice cream bars from the freezer.
-
Quickly dip each bar into the melted chocolate, allowing excess to drip off.
4. Add Toppings
-
Before the chocolate hardens, immediately sprinkle your chosen toppings—nuts, cookie crumbs, or sprinkles.
5. Freeze Again
-
Place the dipped and decorated bars back on the parchment-lined tray.
-
Freeze for an additional 30 minutes or until chocolate is fully set.
6. Serve and Enjoy
-
Serve straight from the freezer for a refreshing and indulgent treat.
Servings and timing
-
Yield: 8–10 bars (depending on size)
-
Prep time: 20 minutes
-
Freeze time: 2½–3 hours total
-
Total time: Approximately 3 hours 20 minutes
Variations
-
Flavor swap: Use strawberry, chocolate, or coffee ice cream for unique combinations.
-
Shell twist: Mix coconut oil into chocolate for a thinner, snappier shell.
-
Dipped and drizzled: Use one type of chocolate for dipping and another for drizzling.
-
Nutty crunch: Add chopped peanuts or almonds for a classic touch.
-
Cookie lovers: Use crushed Oreos or graham crackers as a topping.
Storage/reheating
-
Storage: Wrap individually in parchment or plastic wrap and store in a sealed container in the freezer for up to 2 weeks.
-
Serving: Let sit at room temperature for 1–2 minutes before eating if too hard.
-
Do not refreeze once melted to maintain quality and texture.
FAQs
1. What’s the best type of chocolate to use?
Use melting chocolate or couverture chocolate for smooth coating and quick hardening.
2. Can I use homemade ice cream?
Yes, as long as it’s frozen solid before shaping and dipping.
3. How do I keep the chocolate from melting the ice cream?
Let the melted chocolate cool slightly before dipping to avoid softening the ice cream.
4. Do I need special molds?
No—ice cream can be shaped by hand or with standard silicone molds.
5. Can I use candy melts instead of chocolate?
Yes, candy melts are convenient and colorful alternatives.
6. Can I make them vegan?
Absolutely. Use non-dairy ice cream and vegan chocolate.
7. What toppings work best?
Anything dry and small works well—nuts, cookie crumbs, sprinkles, crushed cereal.
8. Can I double the recipe?
Yes, just scale ingredients accordingly and work in batches.
9. How do I get a smooth chocolate coating?
Dip in one fluid motion and let excess drip off gently before setting.
10. Can I store these for longer than two weeks?
While safe, flavor and texture are best within two weeks of preparation.
Conclusion
Homemade Chocolate-Covered Ice Cream Bars offer a delicious blend of creamy, crunchy, and sweet in every bite. With flexible flavors and toppings, they’re a fun, crowd-pleasing treat you can personalize to perfection. Great for hot days, dessert tables, or simply enjoying with family and friends.
PrintHomemade Chocolate-Covered Ice Cream Bars
These Homemade Chocolate-Covered Ice Cream Bars are a fun and customizable frozen treat perfect for summer. Dip your favorite ice cream into melted chocolate, add toppings like nuts, sprinkles, or crushed cookies, and enjoy a cool, delicious dessert made right at home.
- Prep Time: 15 minutes
- Cook Time: 3–4 hours
- Total Time: 34 minute
Ingredients
-
Melting chocolate (milk, dark, or white)
-
Crushed nuts
-
Crushed cookies
-
Sprinkles
-
Popsicle sticks
Vanilla ice cream (or your favorite flavor)
Instructions
-
Shape the Ice Cream Bars:
-
Scoop ice cream into silicone molds or shape manually into bars.
-
Insert a popsicle stick into each bar.
-
Freeze for 2–3 hours or until firm.
-
-
Melt the Chocolate:
-
In a microwave-safe bowl, melt chocolate in 30-second increments, stirring in between, until smooth.
-
-
Dip the Ice Cream Bars:
-
Quickly dip each frozen ice cream bar into the melted chocolate, coating evenly.
-
-
Add Toppings:
-
While the chocolate is still wet, sprinkle with crushed nuts, cookies, sprinkles, or any desired toppings.
-
-
Freeze Again:
-
Lay the bars on a parchment-lined tray and freeze for at least 30 more minutes to set the coating.
-
-
Serve and Enjoy:
-
Once fully frozen, your chocolate-covered ice cream bars are ready to enjoy!
-
Notes
-
Use silicone molds for perfect shapes and easy release.
-
Try flavored ice creams or add caramel/fruit fillings for variation.
-
Keep frozen and consume within 1–2 weeks for best texture.

