Heavenly Caramel Wafer Cake Recipe
If you are searching for a dessert that combines crisp textures with luscious sweetness, the Heavenly Caramel Wafer Cake is an absolute showstopper. This layered delight features crunchy wafer sheets married with creamy caramel, buttery sweetness, and a nutty finish that will leave your taste buds dancing. Every bite offers a perfect harmony of crunch and smoothness, making the Heavenly Caramel Wafer Cake a treasured treat you’ll want to make again and again.
Ingredients You’ll Need
Gathering simple yet essential ingredients is the first step to creating this irresistible cake. Each component plays a vital role in building the unique texture and flavor balance that defines the Heavenly Caramel Wafer Cake.
- Wafer sheets (200g): These provide the crisp, light layers that give the cake its signature crunch and structure.
- Caramel sauce (300g): Rich and velvety, the caramel infuses sweetness and moistness into every layer.
- Butter (150g): Adds creaminess and helps bind the layers together for a luscious mouthfeel.
- Powdered sugar (100g): Sweetens the butter mixture smoothly without graininess, ensuring a silky texture.
- Crushed nuts (50g): Offers a complementary nutty crunch that elevates the cake’s flavor complexity.
- Heavy cream (100ml): Drizzled atop for a creamy sheen and subtle richness that completes the presentation.
How to Make Heavenly Caramel Wafer Cake
Step 1: Layering the First Wafer with Caramel
Start by placing one wafer sheet on your working surface and spreading a generous layer of caramel sauce evenly over it. The caramel will soak slightly into the wafer, marrying flavor and moisture in preparation for the next layers.
Step 2: Preparing the Butter and Sugar Mixture
In a bowl, beat the butter and powdered sugar together until smooth and creamy. This mixture is crucial because it adds a velvety texture and subtle sweetness that complements the caramel without overpowering it.
Step 3: Assembling the Cake Layers
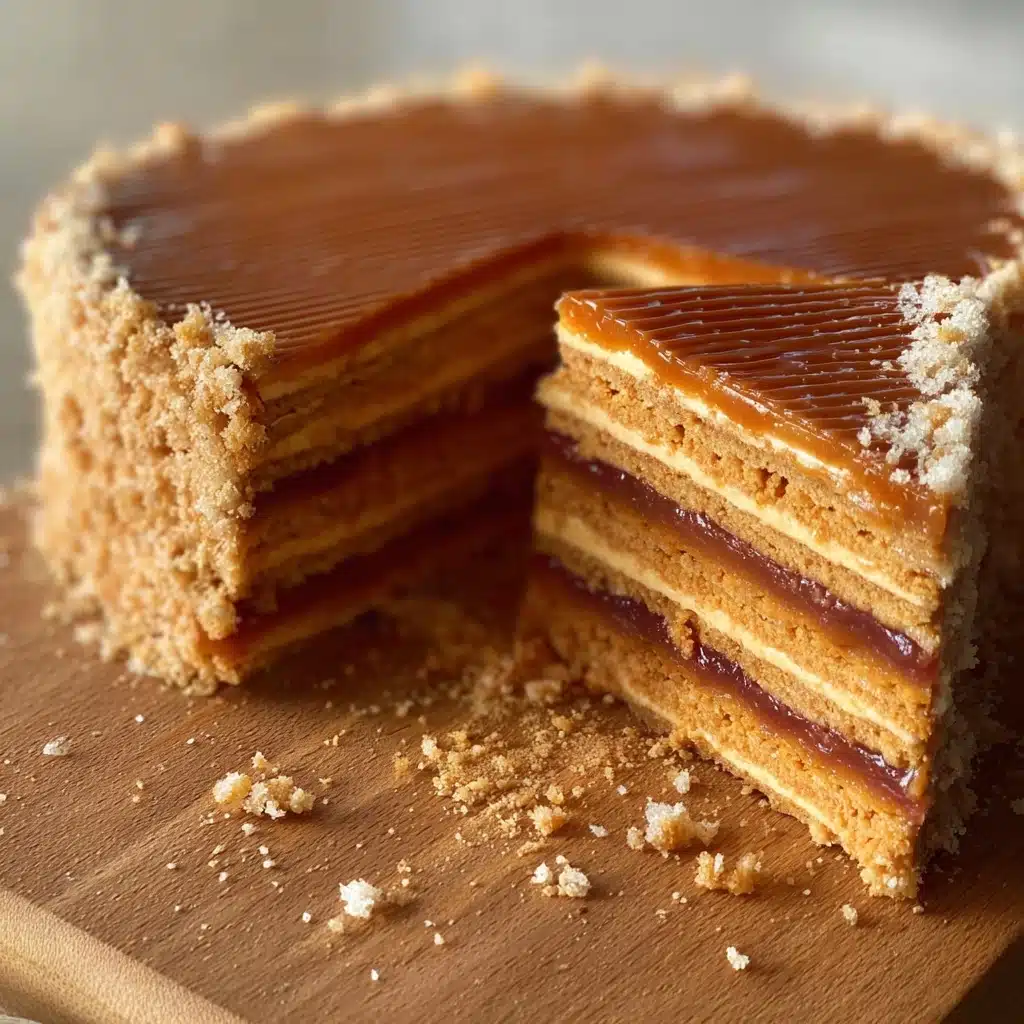
Spread a layer of the butter and sugar mixture over the caramel-coated wafer. Then add another wafer sheet on top and repeat the caramel and butter layers again. This stacking technique builds the cake’s characteristic layered texture that’s both crunchy and creamy.
Step 4: Finishing Touches
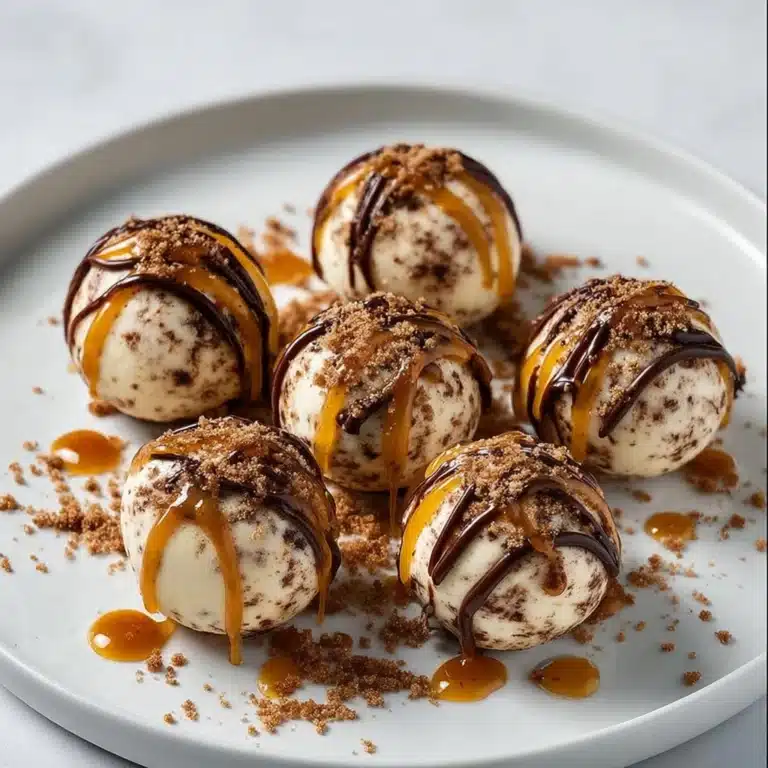
Place the final wafer sheet on top. Drizzle the heavy cream artfully over the cake’s surface to create a glossy finish. Finally, sprinkle the crushed nuts generously on top, adding that irresistible crunch and visual appeal.
Step 5: Chilling the Cake
Refrigerate the Heavenly Caramel Wafer Cake for at least two hours before serving. This step allows the layers to set and the flavors to meld beautifully, making each slice hold firm yet delightfully tender.
How to Serve Heavenly Caramel Wafer Cake

Garnishes
Adding simple yet eye-catching garnishes can elevate your cake presentation. Consider a light dusting of cocoa powder or a few whole nuts artfully placed around the edges to highlight the nutty flavors.
Side Dishes
This cake pairs wonderfully with a scoop of vanilla bean ice cream or a dollop of freshly whipped cream. The cold, creamy sides contrast the sweet crunchiness perfectly, turning dessert time into a decadent experience.
Creative Ways to Present
For an elegant touch, serve slices on decorative plates with a drizzle of warm caramel sauce around the edges. Alternatively, arrange mini squares of the cake on a platter for parties, garnished with edible gold flakes to impress your guests.
Make Ahead and Storage
Storing Leftovers
Store any leftover Heavenly Caramel Wafer Cake covered tightly in the refrigerator. This will keep it fresh and maintain the layers’ texture for up to three days, perfect for enjoying a sweet treat the next day.
Freezing
If you want to keep the cake longer, wrap it securely in plastic wrap and foil before freezing. It can stay well-preserved for up to a month, though the wafer’s crispness may soften slightly upon thawing.
Reheating
Since this cake is best served chilled, reheating is generally not recommended. However, if desired, allow the frozen cake to thaw in the refrigerator overnight to restore the ideal texture and flavor.
FAQs
Can I use chocolate wafers instead of regular wafers?
Absolutely! Chocolate wafers can add a richer flavor and complement the caramel delightfully, giving the Heavenly Caramel Wafer Cake a decadent twist.
Is it possible to make a vegan version of this cake?
Yes, by substituting butter with plant-based margarine and using a dairy-free caramel sauce and cream alternative, you can create a vegan-friendly version that’s just as tasty.
How long does the cake last outside the fridge?
It’s best to keep the cake refrigerated due to the butter and cream components. Leaving it out for more than two hours could cause it to lose its texture and risk spoilage.
Can I add fruit layers to the cake?
For sure! Thin slices of banana or pear can be added between the layers to introduce a fresh, fruity element that pairs well with caramel.
What nuts work best for the topping?
Hazelnuts, almonds, or pecans all work beautifully, providing complementary flavor and crunch. Feel free to mix them for a more complex nutty profile.
Final Thoughts
The Heavenly Caramel Wafer Cake is truly a dessert worth sharing and savoring. Its irresistible combination of textures, flavors, and simple elegance makes it a favorite for both casual gatherings and special occasions. I encourage you to give this recipe a try—it’s the kind of sweet that brings smiles and creates warm memories with every bite.
PrintHeavenly Caramel Wafer Cake Recipe
Heavenly Caramel Wafer Cake is a delightful no-bake layered dessert featuring crunchy wafer sheets alternated with rich caramel and creamy butter frosting, topped with crushed nuts for added texture. Easy to assemble and perfect for satisfying sweet cravings, this luscious cake invites caramel lovers to indulge in a simple yet elegant treat.
- Prep Time: 20 minutes
- Cook Time: 0 minutes
- Total Time: 2 hours 20 minutes (including chilling time)
- Yield: 8 servings 1x
- Category: Dessert
- Method: No-Bake Assembly
- Cuisine: Western
- Diet: Vegetarian
Ingredients
Wafers
- 200g wafer sheets
Filling
- 300g caramel sauce
- 150g butter, softened
- 100g powdered sugar
- 100ml heavy cream
Topping
- 50g crushed nuts (such as walnuts or hazelnuts)
Instructions
- Prepare the caramel layer: Spread a generous layer of caramel sauce evenly on a wafer sheet to ensure a sweet and smooth base.
- Make the buttercream: Beat the softened butter and powdered sugar together until light and fluffy, then spread this mixture on top of the caramel layer to add richness and creaminess.
- Layer the wafers: Place another wafer sheet on top and repeat spreading caramel and buttercream layers, creating multiple alternating layers for maximum texture and flavor.
- Finish the top layer: Complete the stack with a final wafer sheet, drizzle the heavy cream over it to add moisture and a silky finish.
- Add the topping and chill: Sprinkle the crushed nuts evenly on top, then refrigerate the assembled cake for at least 2 hours to allow the layers to set and the flavors to meld beautifully before serving.
Notes
- Use high-quality caramel sauce for the best flavor.
- Soften butter to room temperature before beating to achieve a smooth frosting.
- Refrigerate the cake thoroughly to ensure the layers firm up properly.
- You can substitute nuts with toasted coconut flakes or crushed cookies for variation.
- This cake is best served chilled and consumed within 3 days.
Nutrition
- Serving Size: 1 slice (approx. 100g)
- Calories: 350 kcal
- Sugar: 28g
- Sodium: 110mg
- Fat: 22g
- Saturated Fat: 14g
- Unsaturated Fat: 6g
- Trans Fat: 0g
- Carbohydrates: 30g
- Fiber: 1g
- Protein: 3g
- Cholesterol: 60mg
Keywords: caramel cake, wafer cake, no-bake dessert, layered cake, caramel lovers, easy dessert, homemade dessert