Decadent Cheesecake with a Fudgy Brownie Base Recipe
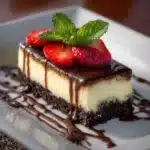
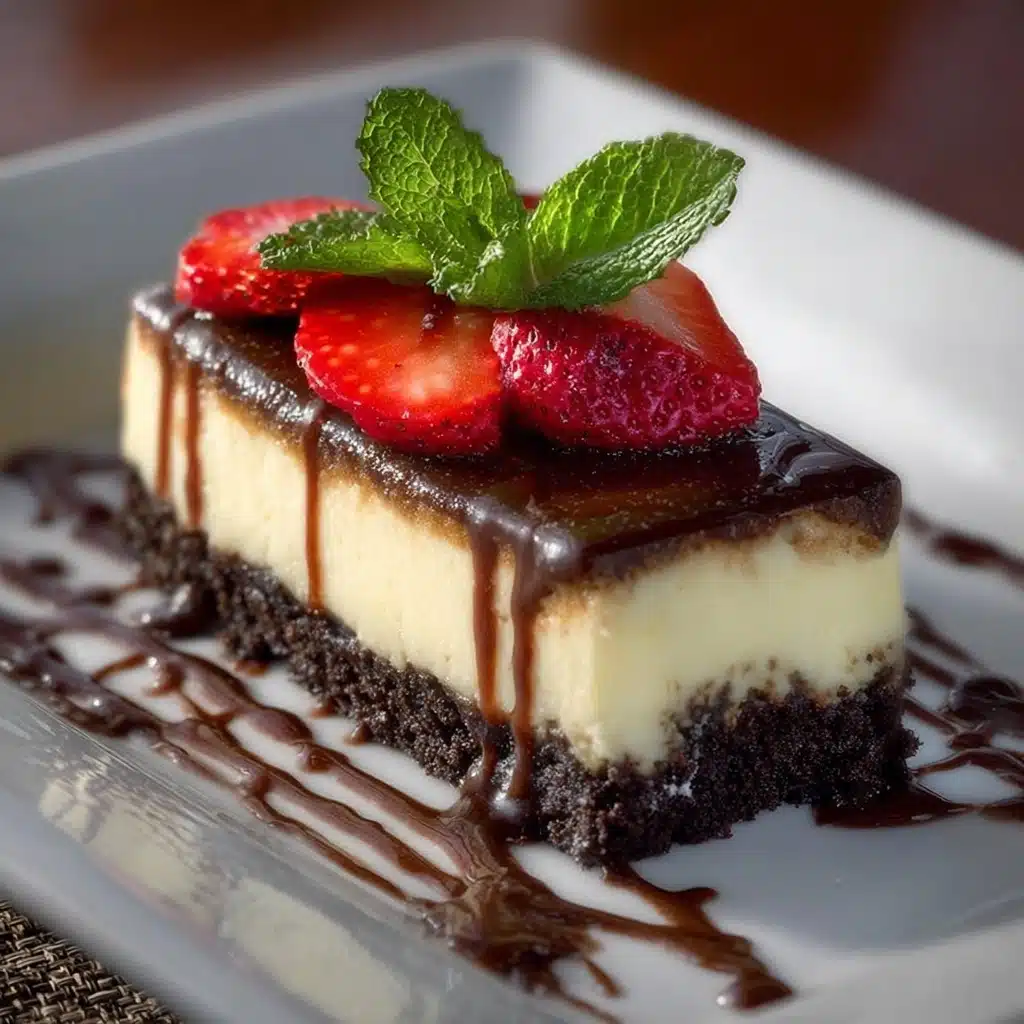
If you’re looking to impress, satisfy your sweet tooth, and indulge in something truly unforgettable, look no further than this Decadent Cheesecake with a Fudgy Brownie Base. Imagine the richness of a dense, chocolatey brownie mingling beneath a silky, creamy cheesecake, layered together in dessert harmony. This showstopper combines two beloved treats into one ultra-luxurious, crowd-pleasing masterpiece that’s as perfect for celebrations as it is for any old Tuesday you want to make special.
Ingredients You’ll Need
Don’t let the stunning results fool you—this is an approachable dessert, thanks to straightforward, essential ingredients. Each component plays its part, delivering a balance of flavor, texture, and visual appeal that makes every bite of Decadent Cheesecake with a Fudgy Brownie Base pure magic.
- Unsalted butter, melted: The fat and flavor anchor for an ultra-moist, fudgy brownie foundation.
- Granulated sugar: Sweetens both layers and helps create a lovely, tender crumb.
- Eggs: Bind the batter together, while adding richness and structure to both the brownie and cheesecake.
- Vanilla extract: Adds warmth and depth, enhancing both chocolate and cream cheese flavors.
- Unsweetened cocoa powder: Delivers bold, pure chocolate taste, making the brownie layer truly fudgy.
- All-purpose flour: Provides the necessary structure to the brownie base without making it cakey.
- Baking powder: Gives the brownie a subtle lift, ensuring the layers bake evenly.
- Salt: Balances sweetness and intensifies the chocolate.
- Cream cheese, softened: The heart of the cheesecake layer, delivering that signature tang and creamy texture.
- Sour cream: Rounds out the cheesecake with a hint of tang and extra silkiness.
- Optional toppings: Chocolate ganache, shavings, whipped cream, or fresh berries elevate the experience visually and texturally.
How to Make Decadent Cheesecake with a Fudgy Brownie Base
Step 1: Prepare the Pan and Preheat the Oven
Begin by preheating your oven to 350°F (175°C). Grease a 9-inch springform pan and add a circle of parchment paper to the bottom. This little step makes unmolding a breeze and ensures your Decadent Cheesecake with a Fudgy Brownie Base comes out with perfect, defined layers every time.
Step 2: Assemble the Brownie Layer
In a bowl, whisk together the melted butter, granulated sugar, eggs, and vanilla extract until glossy and smooth. Add the cocoa powder, flour, baking powder, and salt, stirring gently just until everything is combined—be careful not to overmix to keep the brownie base extra fudgy. Pour the brownie batter into the prepared pan, smoothing it out evenly.
Step 3: Par-Bake the Brownie
Slide the pan into your preheated oven and bake for about 20 minutes. You’re looking for the brownie to just set on top—a delicate crust, but still soft to the touch. Let the brownie base cool slightly while you move on to the cheesecake component. This cooldown keeps your layers distinct and picturesque.
Step 4: Mix the Cheesecake Filling
In a large bowl, beat the softened cream cheese and sugar until the mixture is velvety and free of lumps. Add the eggs, one at a time, beating well after each to ensure a silky texture. Stir in the vanilla extract and sour cream for that climactic creamy finish. The batter should be luxuriously smooth, almost like a satin ribbon when poured.
Step 5: Layer and Bake
Pour the cheesecake filling over the slightly cooled brownie base, using a spatula to level the top. Bake for 40 to 45 minutes, until the edge is set but the center retains a gentle jiggle. This is the secret to a luscious, not-overbaked Decadent Cheesecake with a Fudgy Brownie Base!
Step 6: Cool and Chill
Let your masterpiece cool slowly at room temperature—a rushed chill can lead to cracks. Once cool, transfer the pan to the fridge for at least 4 hours or overnight. This rest sets up perfectly dense layers and makes slicing a breeze.
Step 7: Top and Serve
When you’re ready to serve, release the cheesecake from its pan. Adorn with chocolate ganache, shavings, berries, or clouds of whipped cream. Every detail turns this Decadent Cheesecake with a Fudgy Brownie Base from homemade into patisserie-worthy.
How to Serve Decadent Cheesecake with a Fudgy Brownie Base
Garnishes
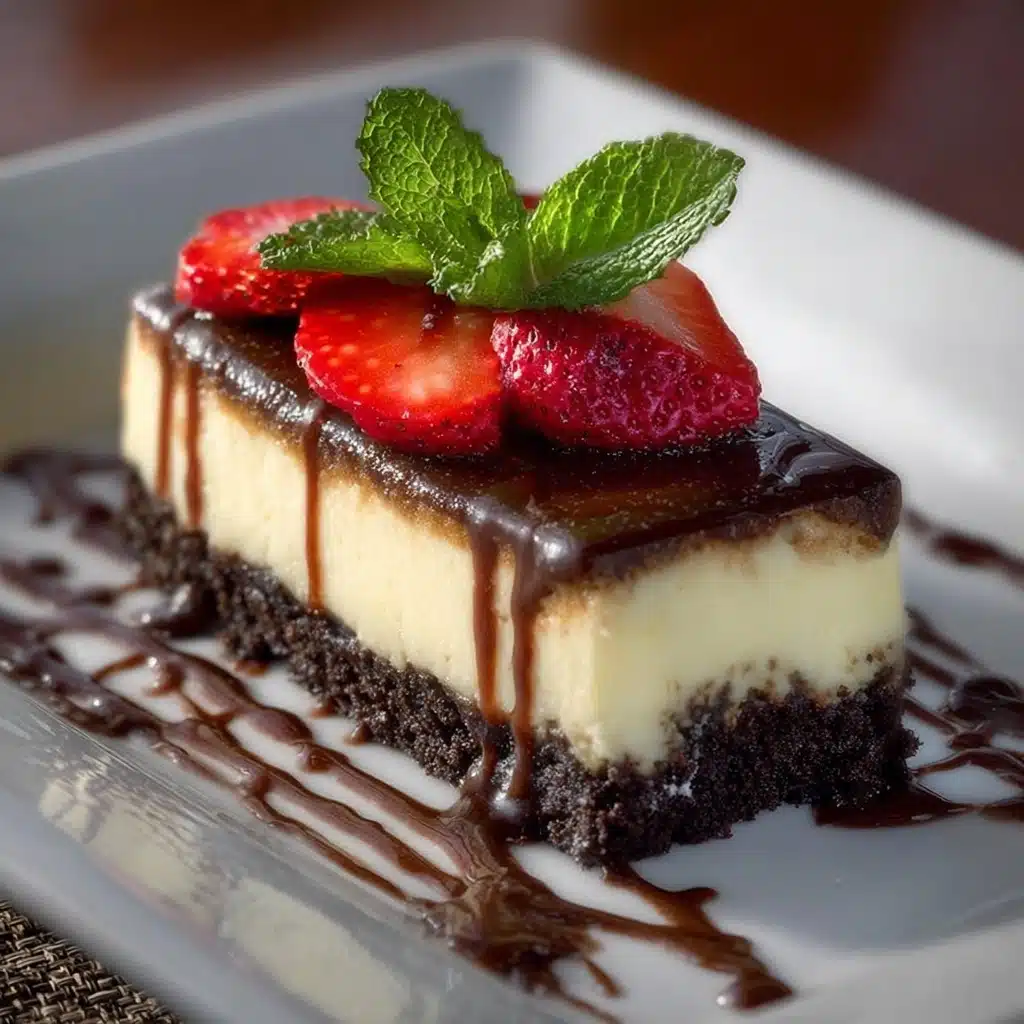
The right finish is the cherry—or strawberry—on top! Give your Decadent Cheesecake with a Fudgy Brownie Base a glossy chocolate ganache, a sprinkle of chocolate shavings, or a scatter of bright berries. Each adds elegance and a contrasting flavor pop that guests will adore.
Side Dishes
This dessert is a showstopper on its own, but if you’d like to serve lighter companions, consider a dollop of tangy whipped cream or even a scoop of refreshing vanilla or raspberry sorbet. For a sophisticated touch, a cup of strong coffee or espresso alongside every slice balances the rich flavors beautifully.
Creative Ways to Present
Try slicing the cheesecake into petite bars or squares for a refined dessert platter, or serve each wedge with a dramatic drizzle of warm ganache. For celebrations, add a sparkler or scatter edible gold leaf over the top of your Decadent Cheesecake with a Fudgy Brownie Base—nothing says “special” quite like that shimmering finishing touch!
Make Ahead and Storage
Storing Leftovers
Store any leftover Decadent Cheesecake with a Fudgy Brownie Base tightly covered in the refrigerator. It keeps wonderfully for up to four days, and the flavors deepen as it rests, making every leftover slice an even more decadent treat.
Freezing
This cheesecake freezes beautifully! Wrap individual slices or the entire cheesecake in plastic wrap, followed by a layer of foil. Freeze for up to three months. When ready to enjoy, thaw overnight in the fridge for that just-baked taste and texture.
Reheating
Cheesecake is best served chilled or at cool room temperature, so there’s no need to reheat. If you’ve stored slices in the fridge, just remove them about 15 minutes before serving to let the flavors and texture shine.
FAQs
Can I use a boxed brownie mix for the base?
Absolutely! If you’re pressed for time, a good-quality boxed brownie mix makes a handy shortcut. Just follow the package instructions, bake for a shorter time (about 15 minutes), and continue as directed with the cheesecake layer.
What’s the best way to prevent cracks on the cheesecake?
Overbaking and rapid temperature changes can cause cracks. Allow your Decadent Cheesecake with a Fudgy Brownie Base to cool slowly at room temperature and chill thoroughly before slicing. Even if a crack appears, toppings like ganache or berries easily disguise them!
Can I make this recipe gluten-free?
Yes! Swap the all-purpose flour in the brownie base for your favorite gluten-free flour blend. The rest of the ingredients are naturally gluten-free, making this an easy adaptation for everyone to enjoy.
How do I know when the cheesecake is perfectly baked?
The edges should appear set, but the center should still have a soft wobble when you gently shake the pan. This delicate jiggle ensures a creamy, never-dry, Decadent Cheesecake with a Fudgy Brownie Base.
Can I double the recipe for a larger crowd?
Definitely! Simply double all the ingredients and use a larger, deep springform pan. Just keep an eye on the bake time; you may need to add 10 to 15 extra minutes, and always check for doneness as directed.
Final Thoughts
This Decadent Cheesecake with a Fudgy Brownie Base is more than just a dessert—it’s a little celebration in every bite. Whether you make it for a special occasion or treat yourself just because, you’ll find yourself returning to this recipe again and again. Gather your ingredients and dive in—you and your lucky taste-testers are in for a real treat!
PrintDecadent Cheesecake with a Fudgy Brownie Base Recipe
Indulge in the ultimate dessert with this Decadent Cheesecake featuring a rich Fudgy Brownie Base. This luxurious treat combines the best of both worlds in one delightful bite.
- Prep Time: 20 minutes
- Cook Time: 65 minutes
- Total Time: 1 hour 25 minutes (plus chilling)
- Yield: 12 slices 1x
- Category: Dessert
- Method: Baking
- Cuisine: American
- Diet: Vegetarian
Ingredients
For the Brownie Layer:
- 1/2 cup (115g) unsalted butter, melted
- 1 cup (200g) granulated sugar
- 2 large eggs
- 1 tsp vanilla extract
- 1/3 cup (40g) unsweetened cocoa powder
- 1/2 cup (65g) all-purpose flour
- 1/4 tsp baking powder
- 1/4 tsp salt
For the Cheesecake Layer:
- 16 oz (450g) cream cheese, softened
- 2/3 cup (135g) granulated sugar
- 2 large eggs
- 1 tsp vanilla extract
- 1/2 cup (120g) sour cream
Instructions
- Preheat oven and prepare pan: Preheat oven to 350°F (175°C). Grease a 9-inch springform pan and line the bottom with parchment paper.
- Make the brownie layer: Whisk together melted butter, sugar, eggs, and vanilla. Mix in cocoa powder, flour, baking powder, and salt. Spread into pan and bake for 20 minutes.
- Make the cheesecake layer: Beat cream cheese and sugar until smooth. Add eggs one at a time, then mix in vanilla and sour cream. Pour over brownie base.
- Bake: Bake for 40–45 minutes until just set. Cool and chill for at least 4 hours.
- Optional toppings: Add chocolate ganache, whipped cream, or berries before serving.
Nutrition
- Serving Size: 1 slice
- Calories: 465 kcal
- Sugar: 28g
- Sodium: 328mg
- Fat: 33g
- Saturated Fat: 19g
- Unsaturated Fat: 10g
- Trans Fat: 0g
- Carbohydrates: 38g
- Fiber: 2g
- Protein: 7g
- Cholesterol: 138mg
Keywords: #browniecheesecake #chocolatedessert #cheesecakeheaven #browniebottom #decadentdessert #doubleindulgence #sweettooth #bakinglove #fudgybrownie #cheesecakelovers #chocolatetreats #luxurydessert #desserttable #indulgentbaking #brownieobsession #dessertdreams #homemadegoodness #sweetindulgence #bakingfromscratch #layereddessert

