Grease a 9×13-inch baking dish Recipe
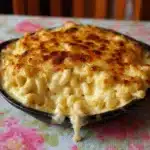
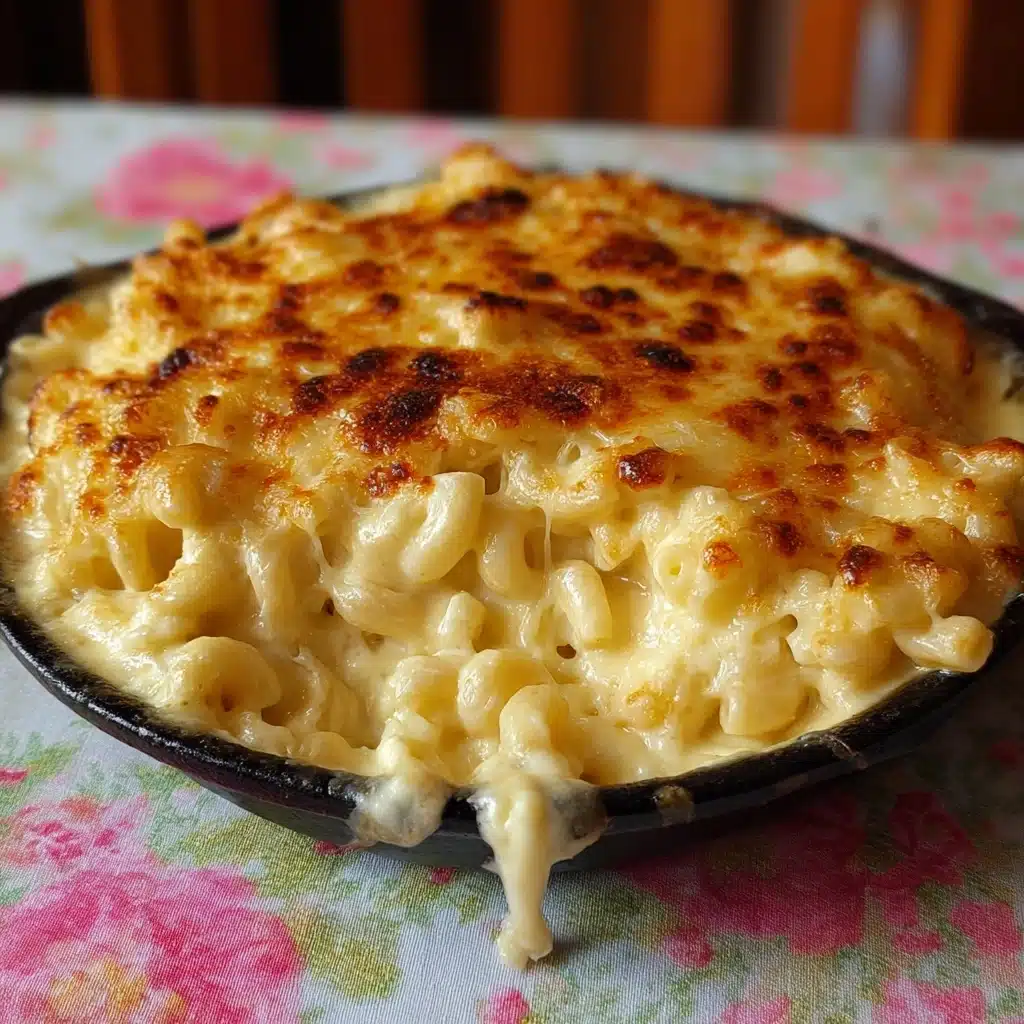
There’s nothing quite like digging your fork into a bubbling, golden-topped dish of creamy baked mac and cheese. This version takes all the cozy, nostalgic flavors you love and amps them up with a rich cheese sauce, a touch of smokiness, and layers of melted goodness. The first step is crucial: Grease a 9×13-inch baking dish to make sure every luscious bite scoops out effortlessly. Whether you’re cooking for a crowd or spoiling your family on a weeknight, this is the recipe you’ll return to again and again.
Ingredients You’ll Need
With just a handful of pantry staples and a generous amount of cheese, you’ll be amazed by the deep flavor and creamy texture packed into each serving. Every ingredient has a purpose, whether it’s enhancing richness, silky smoothness, or that classic mac and cheese stretch.
- Elbow macaroni (1 lb): The traditional pasta shape grabs onto the sauce perfectly and bakes up tender but toothsome.
- Unsalted butter (½ cup): Adds a rich, velvety base for the roux and brings out the flavors of cheese and spices.
- All-purpose flour (½ cup): Thickens the cheese sauce so it clings beautifully to every noodle.
- Whole milk (4 cups): Lays the foundation for a creamy, looser sauce that won’t dry out in the oven.
- Heavy cream (2 cups): Boosts the lusciousness, giving the dish its signature ultra-silky sheen.
- Sharp cheddar cheese (4 cups, divided): The star ingredient for bold flavor and gorgeous, gooey strands.
- Mozzarella cheese (2 cups): Adds meltiness and mild creaminess that balances the cheddar.
- Salt (1 tsp, or to taste): Essential for seasoning every layer and making the cheese flavors pop.
- Black pepper (½ tsp): Provides a subtle kick that rounds out all the creaminess.
- Garlic powder (½ tsp, optional): Gives savory depth to the cheese sauce.
- Smoked paprika (½ tsp, optional): Delivers just a hint of smoky warmth and a touch of color.
How to Make Grease a 9×13-inch baking dish
Step 1: Prepare the Pasta
Start by bringing a big pot of salted water to a boil. Toss in your elbow macaroni and cook until just al dente; you want the noodles to have bite since they’ll soften more in the oven. Drain the pasta and set it aside — keeping it slightly firm is a game changer for perfect texture later.
Step 2: Make the Roux
In a separate saucepan, melt the unsalted butter over medium heat. Sprinkle in the flour and whisk constantly for 1 to 2 minutes. The goal is to make a smooth, golden roux, which will thicken our cheese sauce and give it a subtle, nutty flavor.
Step 3: Build the Sauce
Gradually pour in the whole milk and heavy cream, whisking the mixture so it stays silky and lump-free. Let this bubble gently for 3 to 5 minutes until it thickens enough to coat the back of your spoon. This step is where the magic of creaminess really starts.
Step 4: Add Cheese & Seasonings
Turn off the heat and stir in your salt, pepper, and if using, the garlic powder and smoked paprika. Now, the best part: add 3 cups of sharp cheddar and all of the mozzarella, whisking until the cheeses melt into an irresistibly creamy sauce. Taste and adjust seasoning as needed for your perfect flavor balance.
Step 5: Combine with Pasta
Pour the drained macaroni into your luscious cheese sauce. Stir everything together gently so every noodle is lavishly coated. At this point, you’re just one step away from pure comfort food bliss.
Step 6: Grease a 9×13-inch baking dish and Assemble
This step is key to easy serving and that beautiful golden edge. Grease a 9×13-inch baking dish well (don’t skimp!) to keep your mac and cheese from sticking. Spoon in half of your pasta mixture, then sprinkle with ½ cup of cheddar. Add the rest of the mac and cheese and finish with the last ½ cup of cheddar on top. You’ll get gorgeous layers of melty, cheesy goodness every time.
Step 7: Bake
Preheat your oven to 375°F (190°C). Place your big, cheese-laden dish on the middle rack and bake uncovered for 25 to 30 minutes. You’re looking for a bubbling, golden top with slightly crisp edges. Grease a 9×13-inch baking dish really pays off at this stage — cleanup is a breeze, and it helps achieve that signature mac and cheese crust.
Step 8: Serve
Let everything cool for about 5 minutes before digging in. This short pause lets the cheese sauce set up just enough that each square serves up rich, creamy, and holds together beautifully.
How to Serve Grease a 9×13-inch baking dish
Garnishes
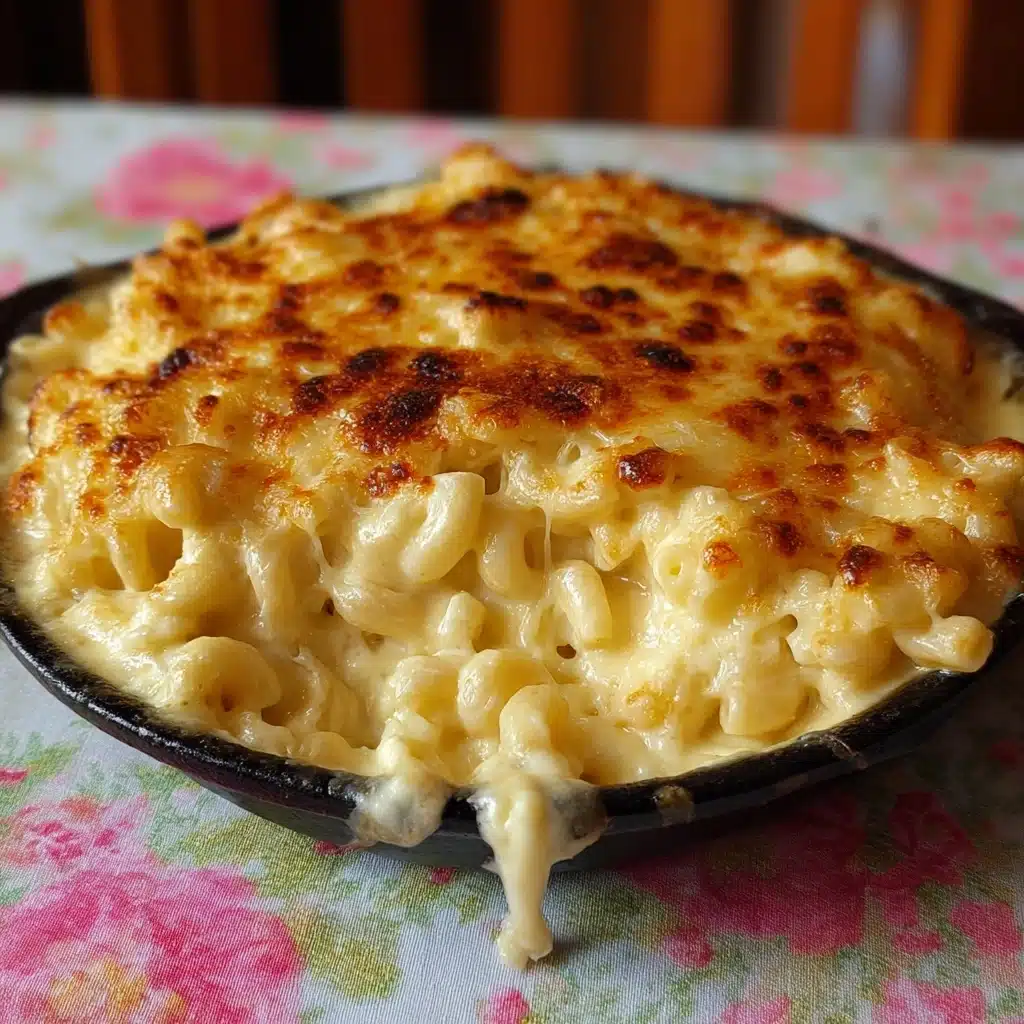
A sprinkle of fresh parsley or chives on top right before serving brings a pop of color and a dash of freshness. You can also dust the top with a little more smoked paprika or even crisp bacon crumbles for extra flair — just remember, Grease a 9×13-inch baking dish before adding any toppings so everything comes out easily!
Side Dishes
This decadent mac and cheese loves to be paired with bright, crunchy side salads, sautéed green beans, or simple roasted vegetables. These lighter sides balance out the richness perfectly, letting the mac and cheese really shine.
Creative Ways to Present
For parties or potlucks, cut into squares and serve on a platter so everyone can grab a piece. To make individual servings fancy, use a biscuit cutter to shape rounds, or spoon the cheesy pasta into ramekins (just remember to Grease a 9×13-inch baking dish — or each little dish — for easy removal and a perfect presentation every time!).
Make Ahead and Storage
Storing Leftovers
Transfer any leftover mac and cheese to an airtight container (or keep it in the original baking dish, tightly wrapped). It will last up to 4 days in the refrigerator, staying beautifully creamy thanks to all that cheese and cream.
Freezing
You can freeze this baked mac and cheese before or after baking. If prepping ahead, assemble through step 6, Grease a 9×13-inch baking dish, then wrap tightly and freeze for up to 2 months. Thaw overnight in the fridge before baking as directed. For leftovers, portion into individual servings, freeze, and reheat as needed for a quick comfort meal.
Reheating
For best results, reheat in the oven at 350°F, covered with foil, until warmed through (about 20 minutes). If microwaving, add a tiny splash of milk and cover to keep the mac and cheese from drying out. You’ll love how the creamy texture returns — almost like it’s fresh from the oven.
FAQs
Can I use other cheeses in this recipe?
Absolutely! While sharp cheddar and mozzarella create that classic flavor and stretch, feel free to swap in Gruyère, Monterey Jack, fontina, or even a bit of blue cheese for a new twist. Just aim for 6 cups total and shred it fresh for the meltiest results.
Can I assemble ahead and bake later?
Yes, you can! Prepare everything up to step 6, Grease a 9×13-inch baking dish, cover, and refrigerate for up to 24 hours. When ready to bake, take it out 30 minutes in advance to take the chill off, and bake as instructed.
Why do I need to grease a 9×13-inch baking dish?
This step prevents sticking and helps every golden edge lift out of the dish effortlessly. Greasing also means less scrubbing later, plus it keeps those cheesy edges perfectly intact for serving.
What if I want a crunchy topping?
Stir together 1 cup of panko breadcrumbs with 2 tablespoons melted butter and sprinkle over the top before baking. The result is a crispy, buttery crust that takes this dish over the top — and it’s extra easy to serve when you Grease a 9×13-inch baking dish first!
How can I make this dish gluten free?
Simply swap in your favorite gluten-free elbow macaroni and use a 1:1 gluten-free flour blend in the roux. Everything else stays the same for a creamy, cheesy gluten-free treat everyone will beg for.
Final Thoughts
If you’re looking to master comfort food, this creamy baked mac and cheese is your ticket. Don’t forget the most important secret — Grease a 9×13-inch baking dish — and watch your creation become the star of any table. Your friends and family will thank you (and probably request seconds!).
PrintGrease a 9×13-inch baking dish Recipe
Indulge in the ultimate comfort food with this creamy baked mac and cheese recipe. Velvety cheese sauce coats tender elbow macaroni, baked to bubbly, golden perfection.
- Prep Time: 20 minutes
- Cook Time: 30 minutes
- Total Time: 50 minutes
- Yield: 8 servings 1x
- Category: Main Dish
- Method: Baking
- Cuisine: American
- Diet: Vegetarian
Ingredients
For the Pasta:
- 1 lb elbow macaroni
For the Cheese Sauce:
- ½ cup unsalted butter (1 stick)
- ½ cup all-purpose flour
- 4 cups whole milk
- 2 cups heavy cream
- 4 cups shredded sharp cheddar cheese (divided)
- 2 cups shredded mozzarella cheese
- 1 tsp salt (or to taste)
- ½ tsp black pepper
- ½ tsp garlic powder (optional)
- ½ tsp smoked paprika (optional)
Instructions
- Prepare the Pasta: Bring a large pot of salted water to a boil. Cook elbow macaroni until al dente, drain, and set aside.
- Make the Roux: In a saucepan, melt butter over medium heat. Add flour and whisk continuously for 1–2 minutes until slightly golden.
- Build the Sauce: Gradually pour in whole milk and heavy cream, whisking until smooth. Let simmer 3–5 minutes until lightly thickened.
- Add Cheese & Seasonings: Stir in salt, pepper, garlic powder, and smoked paprika. Add 3 cups cheddar and all mozzarella, stirring until sauce is creamy.
- Combine with Pasta: Mix drained macaroni into the cheese sauce until well coated.
- Assemble the Dish: Grease a 9×13-inch baking dish. Layer half of the mac and cheese, sprinkle with ½ cup cheddar, then spread the remaining pasta. Top with the last ½ cup cheddar.
- Bake: Preheat oven to 375°F (190°C). Bake uncovered for 25–30 minutes, until bubbly and golden on top.
- Serve: Cool for about 5 minutes before serving to allow the sauce to set.
Nutrition
- Serving Size: 1 serving
- Calories: 650
- Sugar: 5g
- Sodium: 800mg
- Fat: 42g
- Saturated Fat: 25g
- Unsaturated Fat: 14g
- Trans Fat: 1g
- Carbohydrates: 45g
- Fiber: 2g
- Protein: 25g
- Cholesterol: 120mg
Keywords: Mac and Cheese, Baked Macaroni, Comfort Food, Cheese Sauce

