Heavenly Mocha Chocolate Cheesecake Delight Recipe
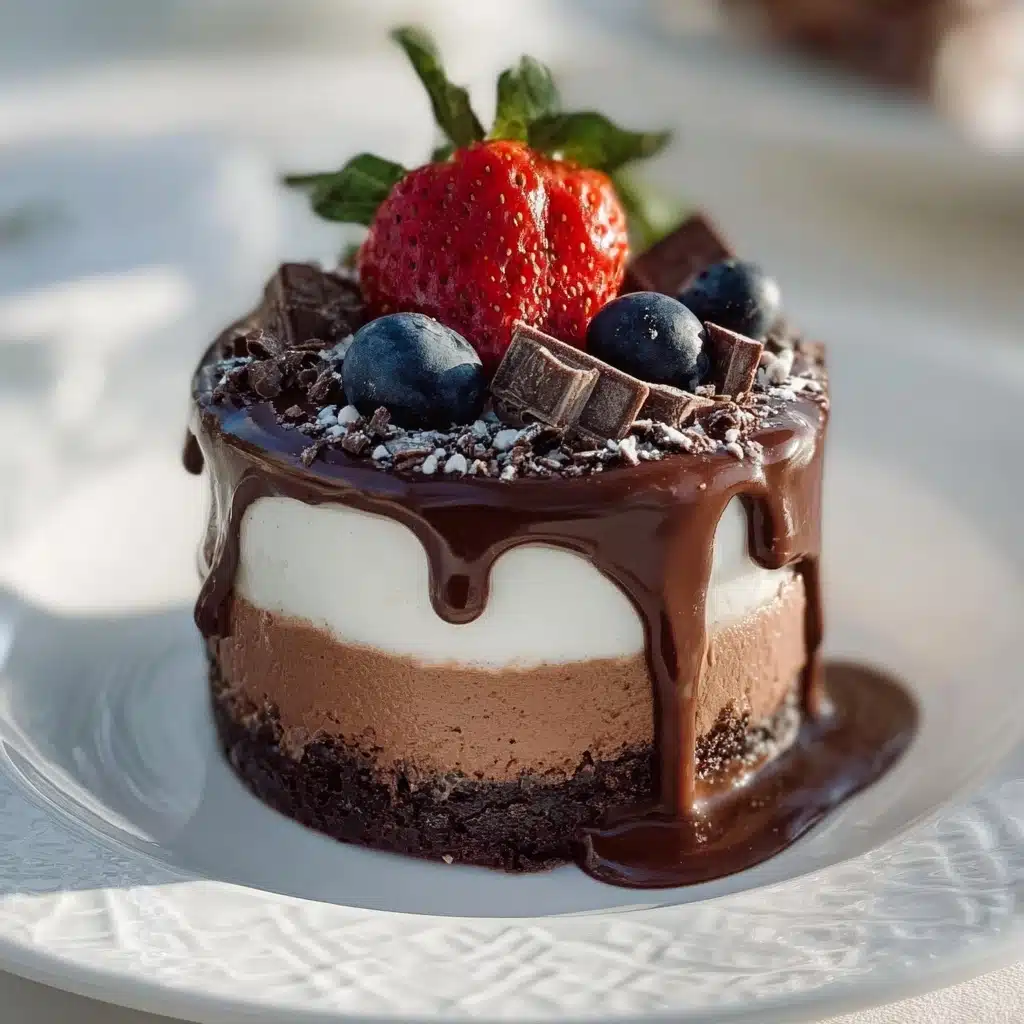
Prepare to swoon over the absolute indulgence that is Heavenly Mocha Chocolate Cheesecake Delight. This no-bake recipe takes the very best of chocolate, coffee, and velvety cheesecake, weaving them together into a spectacular dessert that tastes like a café treat but comes straight from your own kitchen. Creamy, decadent, and impossibly easy to assemble, this showstopper is perfect for everything from birthdays to midnight cravings. The name says it all—Heavenly Mocha Chocolate Cheesecake Delight is true bliss with every bite.
Ingredients You’ll Need
One of my favorite things about making this cheesecake is how straightforward yet essential each ingredient is. Every component plays a special role, whether it’s building rich flavor, bringing in that dreamy creamy texture, or adding a finishing touch of visual flair. Let’s break down what you’ll need and why you’ll love it!
- Chocolate cookie crumbs: These form the irresistible, chocolatey base that supports all that creamy deliciousness.
- Unsalted butter: Melted and mixed in, butter holds the crust together and gives it that scrumptious, melt-in-your-mouth finish.
- Cream cheese: The foundation of our filling, cream cheese brings the signature tang and rich texture to every bite.
- Powdered sugar: This ingredient blends in smoothly, sweetening the filling without any grittiness or crunch.
- Strong brewed espresso: The star ingredient for coffee lovers, espresso takes the flavor from basic to “I need another slice!”
- Heavy cream, whipped: Folding in fresh whipped cream keeps the filling airy and light—never dense!
- Dark chocolate, melted: Melted dark chocolate adds depth and dreamy fudginess that pairs perfectly with the coffee.
- Cocoa powder (for garnish): A dusting on top makes each slice look bakery-worthy and intensifies the chocolate aroma.
- Chocolate curls or coffee beans (optional): For an extra flourish, these garnishes turn your cheesecake into a true centerpiece.
How to Make Heavenly Mocha Chocolate Cheesecake Delight
Step 1: Form the Cookie Crust
Start by mixing your chocolate cookie crumbs with melted unsalted butter in a large bowl. The butter soaks into the crumbs and helps them stick together, creating a luscious, chocolatey base that stands up to the generous filling. Press the mixture firmly into the bottom of a 9-inch springform pan, making sure it’s tightly packed for maximum stability and flavor with every bite. Pop the crust in the fridge while you move to the filling—this will help everything firm up.
Step 2: Beat the Cream Cheese & Sugar
In a separate bowl, beat the softened cream cheese and powdered sugar until the mixture is completely smooth and creamy. You’re aiming for a fluffy texture with no lumps left behind. This is what gives that classic, unmistakable cheesecake base its tang and silkiness!
Step 3: Blend in Espresso & Chocolate
Add the cooled, strong brewed espresso and melted dark chocolate right into your cream cheese mixture. Stir until everything is beautifully blended, turning your filling into a mocha lover’s dream with swirls of chocolate and coffee flavor. Make sure the espresso is fully cooled—this keeps your cheesecake mixture from becoming too soft.
Step 4: Fold in Whipped Cream
Gently fold your whipped heavy cream into the mocha-chocolate mixture. This is the secret to that cloudlike, spoonable texture that makes the Heavenly Mocha Chocolate Cheesecake Delight feel so light yet wonderfully rich. Take your time, folding slowly to keep as much air in as possible.
Step 5: Assemble & Chill
Spread the mocha cheesecake filling evenly over the chilled crust, smoothing the top with a spatula for a picture-perfect finish. Cover the pan with plastic wrap and refrigerate for at least 4 hours (overnight is even better) until the cheesecake is beautifully firm and sliceable.
Step 6: Garnish & Serve
Just before serving, dust the top generously with cocoa powder. If you’re feeling fancy, add chocolate curls or whole coffee beans for a next-level garnish. These final touches make your Heavenly Mocha Chocolate Cheesecake Delight stand out on any table.
How to Serve Heavenly Mocha Chocolate Cheesecake Delight
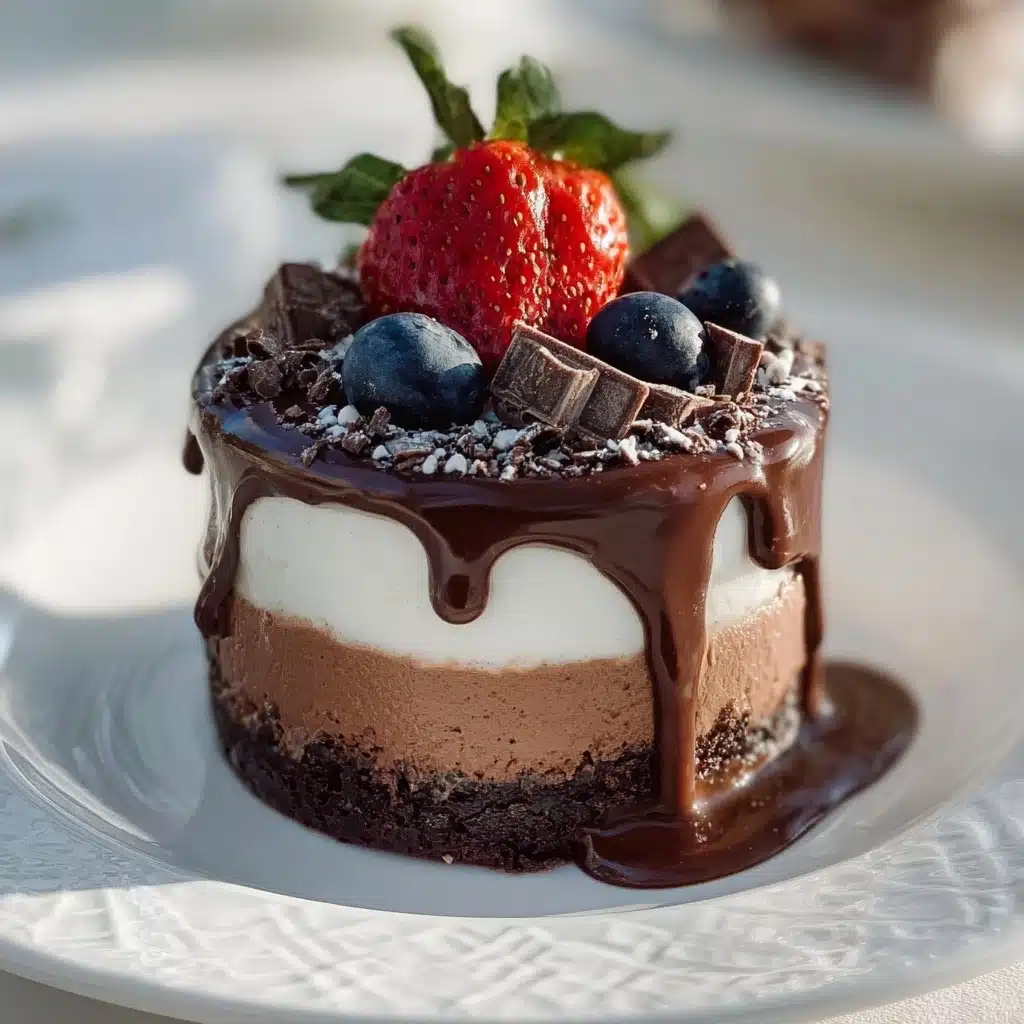
Garnishes
When it comes to making your dessert look as irresistible as it tastes, a little goes a long way! Dust the top of the cheesecake with cocoa powder for a rich chocolate look, then sprinkle on some chocolate curls or place a few glossy coffee beans for an elegant finish. These simple additions ramp up the wow factor and make Heavenly Mocha Chocolate Cheesecake Delight totally celebration-worthy.
Side Dishes
Sometimes, the sides you serve make the dessert experience even more memorable. Try pairing each slice with a scoop of vanilla ice cream, a dollop of lightly sweetened whipped cream, or a handful of fresh raspberries or strawberries. The fruity brightness balances the richness, and a warm cup of coffee alongside really completes the treat!
Creative Ways to Present
Presentation can turn dessert into an event. Serve Heavenly Mocha Chocolate Cheesecake Delight in slim slices on chic white dessert plates, or cut it into elegant squares and top each with a different garnish. For parties, make mini versions in cupcake liners or glass jars—adorable, portion-controlled, and perfect for guests to grab and mingle.
Make Ahead and Storage
Storing Leftovers
Leftover cheesecake keeps beautifully in the fridge, which means you can sneak a slice whenever you’re craving something sweet. Store any remaining Heavenly Mocha Chocolate Cheesecake Delight in an airtight container, or cover the pan tightly with plastic wrap. It stays fresh, creamy, and delicious for up to 4 days—if it lasts that long!
Freezing
This cheesecake freezes surprisingly well. To freeze, wrap individual slices or the whole cheesecake tightly in plastic wrap and then foil. Store in a freezer-safe container for up to one month. When you’re ready for a treat, thaw it overnight in the fridge for the perfect next-day dessert.
Reheating
No reheating needed for this chilled delight! Just remove your Heavenly Mocha Chocolate Cheesecake Delight from the fridge or freezer about 30 minutes before serving to take the chill off. The texture will be dreamily creamy and ready to enjoy straight away.
FAQs
Can I use instant coffee instead of brewed espresso?
Absolutely! Dissolve 1 to 2 teaspoons of high-quality instant coffee granules in 1/2 cup hot water and cool completely before adding. The flavor won’t be quite as robust as espresso but still delivers a delicious mocha profile.
What if I don’t have a springform pan?
No worries—you can use a regular 9-inch pie dish or even an 8×8-inch baking pan. Lining the pan with parchment paper or plastic wrap makes lifting the cheesecake out for neat slices much easier.
Can I make this recipe gluten-free?
Definitely! Just swap the chocolate cookie crumbs for a gluten-free variety. All other ingredients are naturally gluten-free, so you can indulge in Heavenly Mocha Chocolate Cheesecake Delight worry-free.
Is it possible to lighten up the cheesecake?
Yes! Use reduced-fat cream cheese and replace half the heavy cream with Greek yogurt. The texture will be lighter and a little tangier, but you’ll still get that luscious silkiness.
Can I prepare Heavenly Mocha Chocolate Cheesecake Delight ahead for a party?
Yes, this dessert is actually better when made in advance. Prepare it the night before your event, keep it chilled, then garnish just before serving for the freshest, creamiest results.
Final Thoughts
If you adore the marriage of coffee and chocolate, whip up a Heavenly Mocha Chocolate Cheesecake Delight for your next gathering or special night in. You’ll love how easy it is to make, and your family and friends will be raving about this decadent, dreamy dessert. Trust me, don’t be surprised if you’re asked for the recipe again and again!
PrintHeavenly Mocha Chocolate Cheesecake Delight Recipe
Indulge in the heavenly delight of this no-bake Heavenly Mocha Chocolate Cheesecake. A perfect combination of rich chocolate, espresso, and creamy cheesecake that’s sure to impress any dessert lover.
- Prep Time: 20 minutes
- Cook Time: 0 minutes
- Total Time: 4 hours 20 minutes
- Yield: 10 slices 1x
- Category: Dessert
- Method: No-Bake
- Cuisine: American
- Diet: Vegetarian
Ingredients
For the Crust:
- 2 cups chocolate cookie crumbs
- 1/2 cup unsalted butter, melted
For the Filling:
- 2 cups cream cheese, softened
- 1 cup powdered sugar
- 1/2 cup strong brewed espresso, cooled
- 1 1/2 cups heavy cream, whipped
- 1/2 cup dark chocolate, melted
For Garnish:
- 2 tablespoons cocoa powder
- Chocolate curls or coffee beans (optional)
Instructions
- Prepare the Crust: Combine cookie crumbs and melted butter. Press into the bottom of a 9-inch springform pan. Chill in the refrigerator.
- Make the Filling: Beat cream cheese and powdered sugar until smooth. Mix in espresso and melted chocolate. Fold in whipped cream.
- Assemble: Spread the mocha mixture over the chilled crust. Refrigerate for at least 4 hours or overnight.
- Finish: Dust with cocoa powder and garnish with chocolate curls or coffee beans before serving.
Notes
- This cheesecake can be made a day ahead for convenience.
- For a stronger coffee flavor, increase the amount of espresso.
Nutrition
- Serving Size: 1 slice
- Calories: 420 kcal
- Sugar: 18g
- Sodium: 280mg
- Fat: 32g
- Saturated Fat: 19g
- Unsaturated Fat: 10g
- Trans Fat: 0g
- Carbohydrates: 30g
- Fiber: 1g
- Protein: 5g
- Cholesterol: 90mg
Keywords: #nobake #cheesecake #mochadessert #coffeecake #chocolatedessert #easycheesecake #nobakerecipes #dessertideas #coffeelovers #homemadedessert #chocolatelovers #holidaydessert #partyfood #desserttable #easybaking #sweettooth #indulgentdessert #simpledessert #nocook #decadent

