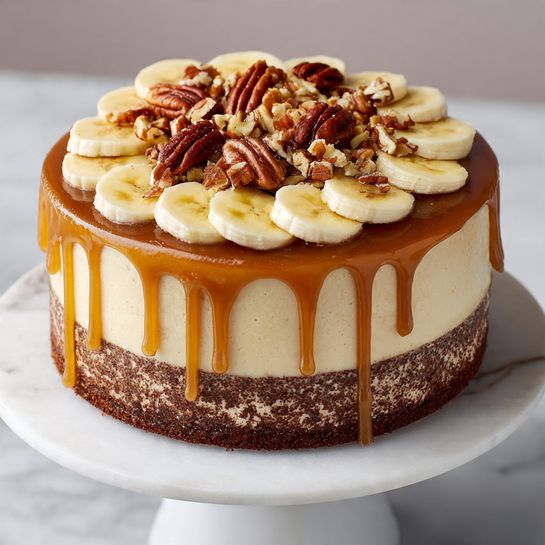
Homemade Chocolate-Covered Ice Cream Recipe
There’s nothing quite as magical as that first bite through a crisp chocolate shell to reveal silky, creamy ice cream beneath—and with this Homemade Chocolate-Covered Ice Cream, you don’t need to wait for summer fairs or fancy dessert shops! Making this frozen treat at home means you get perfect, refreshing bars coated in rich chocolate, topped with your favorite nibbles, and absolutely bursting with simple, nostalgic joy. Once you give this easy recipe a whirl, I guarantee it’ll become your go-to for special occasions and everyday celebrations alike.
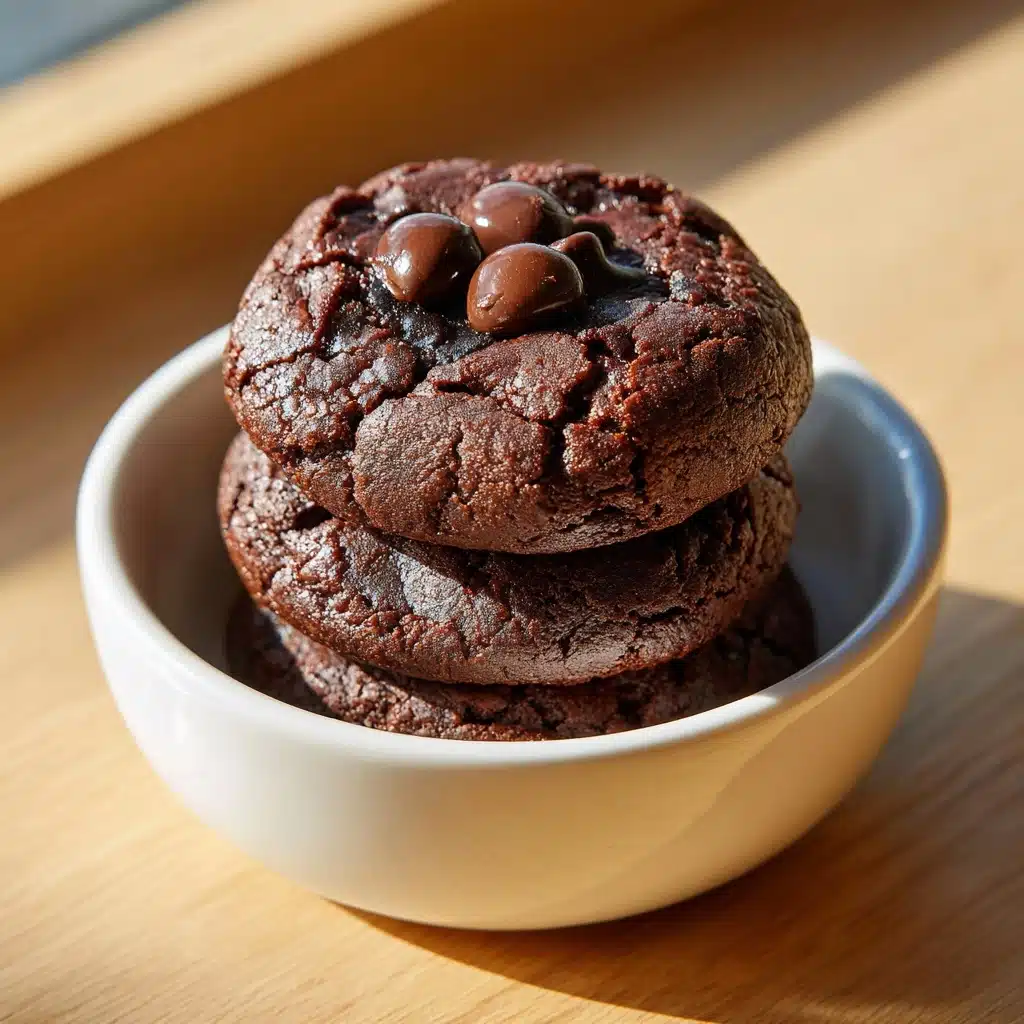
Ingredients You’ll Need
The ingredient list for Homemade Chocolate-Covered Ice Cream is blissfully short but thoughtfully chosen. Each component brings its own magic—super-creamy texture, irresistible sweetness, or that glossy, snappy finish. Here’s what you need (and why you can’t skip anything):
- Whipping cream (500 ml): Ensures your ice cream comes out pillowy and lush, just like from your favorite shop.
- Condensed milk (400 ml): Adds not just sweetness but a gentle, melt-on-the-tongue texture that balances the chocolate shell.
- Vanilla extract (1 teaspoon): Rounds out the flavors, giving the ice cream a comforting, fragrant backbone.
- Dark or milk chocolate (200 g, your choice): The “blanket” for your frozen delight; choose your favorite for a custom twist.
- Coconut oil or cocoa butter (2 tablespoons): Makes melted chocolate smooth and thin, so you get that perfect, snappy coating.
How to Make Homemade Chocolate-Covered Ice Cream
Step 1: Whip the Cream
Start by pouring the whipping cream into a large, chilled bowl. Using an electric mixer (a hand whisk works too, with some extra muscle!), beat it until soft peaks form—about three to four minutes. You’re aiming for a voluminous, billowy texture, not stiff peaks. This foundation gives your Homemade Chocolate-Covered Ice Cream that dreamy, soft base we all crave.
Step 2: Mix the Condensed Milk and Vanilla
In another bowl, blend together the condensed milk and vanilla extract. This step is a breeze but absolutely essential—the condensed milk acts as the perfect sweetener and helps prevent ice crystals, keeping your ice cream super smooth.
Step 3: Fold and Freeze the Ice Cream Base
Now, gently fold the condensed milk mixture into the whipped cream. The key? Use a spatula and a light hand. Work slowly so you don’t knock out all the fluffiness; keeping air in the base is your ticket to cloud-like ice cream. Next, pour your mixture into a freezer-safe mold, cover snugly with plastic wrap, and let it freeze for at least six hours or—better yet—overnight.
Step 4: Melt the Chocolate Coating
Time to make that shiny shell! Break the chocolate into pieces and combine it with the coconut oil or cocoa butter in a heat-safe bowl. Melt together using either a double boiler or the microwave in 30-second bursts, stirring each time. Let the mixture cool for a few minutes so it’s still pourable but not scalding—this results in an even, glossy coating on your Homemade Chocolate-Covered Ice Cream.
Step 5: Coat the Ice Cream in Chocolate
Once the ice cream is fully frozen, cut it into bars or squares, or use an ice cream scoop to shape lovely, round balls. Dip each portion quickly into the cooled melted chocolate, letting excess drip off, then place on a parchment-lined baking sheet or tray. The chocolate will start setting instantly thanks to the cold ice cream.
Step 6: Chill and Set
To finish, pop your chocolate-dipped ice creams into the refrigerator for about 10–15 minutes so the shells can harden completely. The result? A homemade treat every bit as crave-worthy (and customizable!) as anything you’d find at a gourmet shop.
How to Serve Homemade Chocolate-Covered Ice Cream
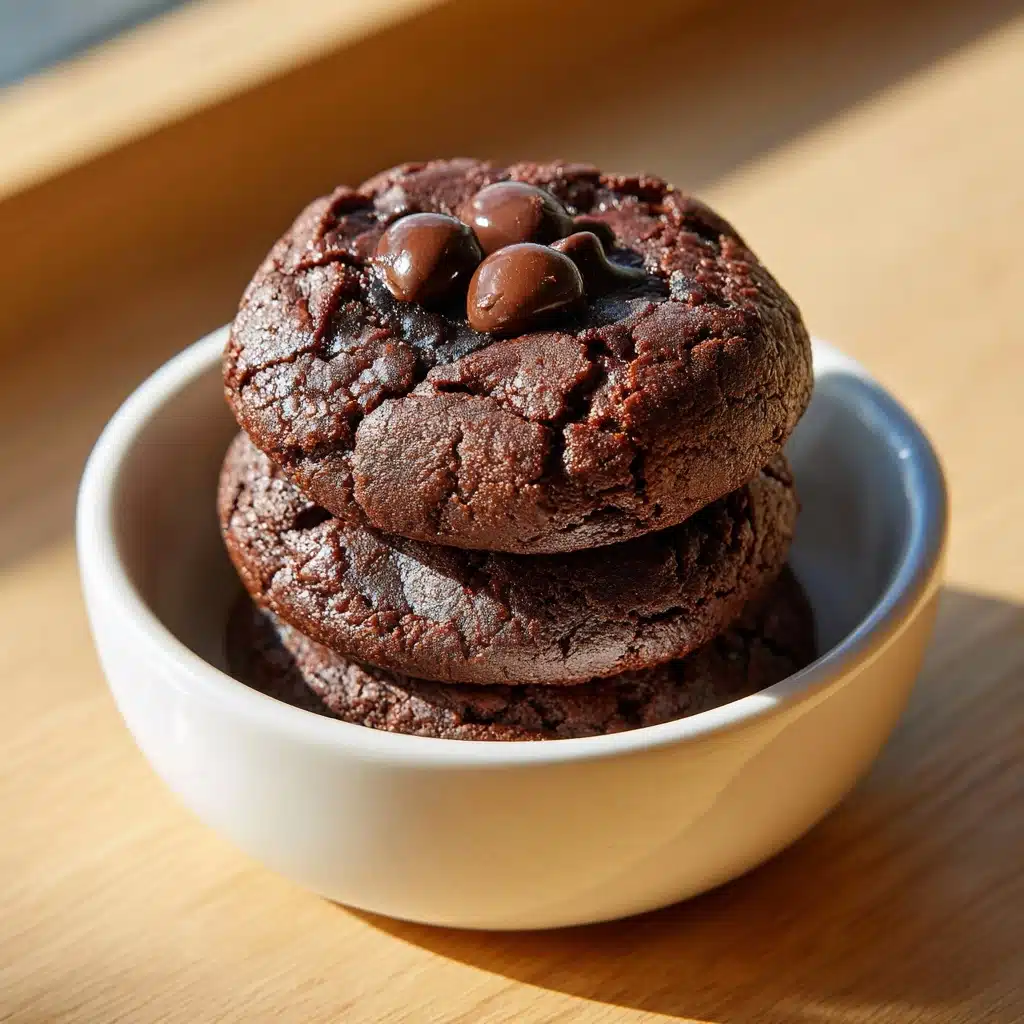
Garnishes
The possibilities for making your Homemade Chocolate-Covered Ice Cream pop are endless! Sprinkle on crunchy chopped nuts, rainbow sprinkles, shredded coconut, or even a drizzle of caramel or extra melted chocolate. For an extra-luxe touch, a dusting of edible gold leaf or flaky sea salt is absolutely swoon-worthy.
Side Dishes
Serve these ice cream bars alongside fresh berries, warm brownies, or a dollop of whipped cream for a sundae-inspired treat. If you’re feeling extra indulgent, pair with a shot of hot espresso for an instant homemade affogato—this combo never fails to impress.
Creative Ways to Present
Try placing your Homemade Chocolate-Covered Ice Cream portions on popsicle sticks for a nostalgic, portable snack, or stack petite squares atop a cookie crust for a playful dessert platter at your next cookout. You can even drizzle the finished bars with more chocolate and arrange in candy boxes for a thoughtful, homemade gift.
Make Ahead and Storage
Storing Leftovers
After making your Homemade Chocolate-Covered Ice Cream, store any extras in a sealed container in the freezer. A little parchment paper between bars helps prevent sticking. They’ll stay at their best for up to two weeks (if they last that long!).
Freezing
Freeze your prepared ice cream bars as soon as the chocolate has set. For maximum freshness, I recommend enjoying within a couple weeks, as prolonged storage can introduce freezer aromas or frost.
Reheating
While you’ll never need to “reheat” this frozen treat, if you find your Homemade Chocolate-Covered Ice Cream is too hard straight from the freezer, let it sit at room temperature for 2–3 minutes before serving. This brings back the perfect creamy bite without melting the chocolate shell.
FAQs
Can I use non-dairy alternatives for this recipe?
Absolutely! Swap the whipping cream for coconut cream and opt for a plant-based condensed milk. The chocolate and coconut oil combination remains dairy-free too. You’ll get an equally decadent batch of Homemade Chocolate-Covered Ice Cream, perfect for vegan or lactose-free diets.
What type of chocolate is best for the coating?
You can use dark, milk, or even white chocolate here. Dark chocolate gives a rich, grown-up finish, while milk chocolate keeps things sweet and classic. If you’re feeling adventurous, mixing both or adding a sprinkle of sea salt to the shell creates an amazing flavor balance.
My chocolate shell is too thick. Any tips?
If the chocolate seems heavy or doesn’t set thinly, make sure you’ve added enough coconut oil or cocoa butter to thin it out. Also, let it cool for a few minutes before dipping so it clings rather than globs onto the ice cream.
How can I keep the chocolate coating from cracking too much?
The key is letting your melted chocolate cool just enough so it’s not steaming hot, and your ice cream bars should be fully frozen. A quick, even dip and a gentle shake off will minimize excessive cracking once you bite in.
Can I flavor the ice cream base?
Definitely! You can infuse the condensed milk with matcha powder, freeze-dried berries, or espresso powder for a unique twist. The homemade chocolate-covered ice cream base is wonderfully versatile, so have fun and get creative with add-ins.
Final Thoughts
I hope you’re as excited as I am to dive into this Homemade Chocolate-Covered Ice Cream recipe! With just a handful of ingredients and a bit of hands-on fun, you can create a homemade treat that feels utterly celebratory any day of the week. Gather your loved ones, set up a dipping station, and let every bite transport you back to your happiest ice cream memories—right there in your own kitchen.
PrintHomemade Chocolate-Covered Ice Cream Recipe
Indulge in the creamy goodness of homemade ice cream coated in rich chocolate for a delightful frozen treat.
- Prep Time: 20 minutes
- Total Time: 6 hours, 20 minutes
- Yield: 8 servings 1x
- Category: Dessert
- Method: Freezing, Mixing
- Cuisine: International
- Diet: Vegetarian
Ingredients
For the ice cream:
- 500 ml whipping cream
- 400 ml condensed milk
- 1 teaspoon vanilla extract
For the chocolate coating:
- 200 g dark or milk chocolate (your choice)
- 2 tablespoons coconut oil or cocoa butter
Instructions
- Prepare the ice cream: In a large bowl, whip the cream until soft peaks form. In another bowl, combine condensed milk with vanilla extract. Gently fold the condensed milk mixture into the whipped cream. Pour into a freezer-safe mold, cover, and freeze for at least 6 hours or overnight.
- Prepare the chocolate coating: Melt the chocolate and coconut oil, then let it cool slightly.
- Cover the ice cream with chocolate: Cut the frozen ice cream into portions, dip in melted chocolate, place on a lined sheet, and refrigerate until hardened. Serve with desired toppings.
Notes
- You can customize the chocolate by adding nuts, sprinkles, or crushed candies.
- For a faster chocolate hardening process, place the dipped ice cream in the freezer for a few minutes.
Nutrition
- Serving Size: 1 serving
- Calories: 380 kcal
- Sugar: 28g
- Sodium: 80mg
- Fat: 25g
- Saturated Fat: 16g
- Unsaturated Fat: 8g
- Trans Fat: 0g
- Carbohydrates: 35g
- Fiber: 1g
- Protein: 4g
- Cholesterol: 60mg
Keywords: Homemade, Ice Cream, Chocolate Coating, Dessert, Frozen Treat

